A common injury for many pickleball players is found in the shoulder muscle. This is because it is one of the largest muscle groups needed to consistently perform pickleball shots.
In a previous video, Certified Teaching Pro & NASM Corrective Exercise Specialist Dustin Davis walked viewers through ways to avoid shoulder pain while playing pickleball and how to relieve shoulder soreness.
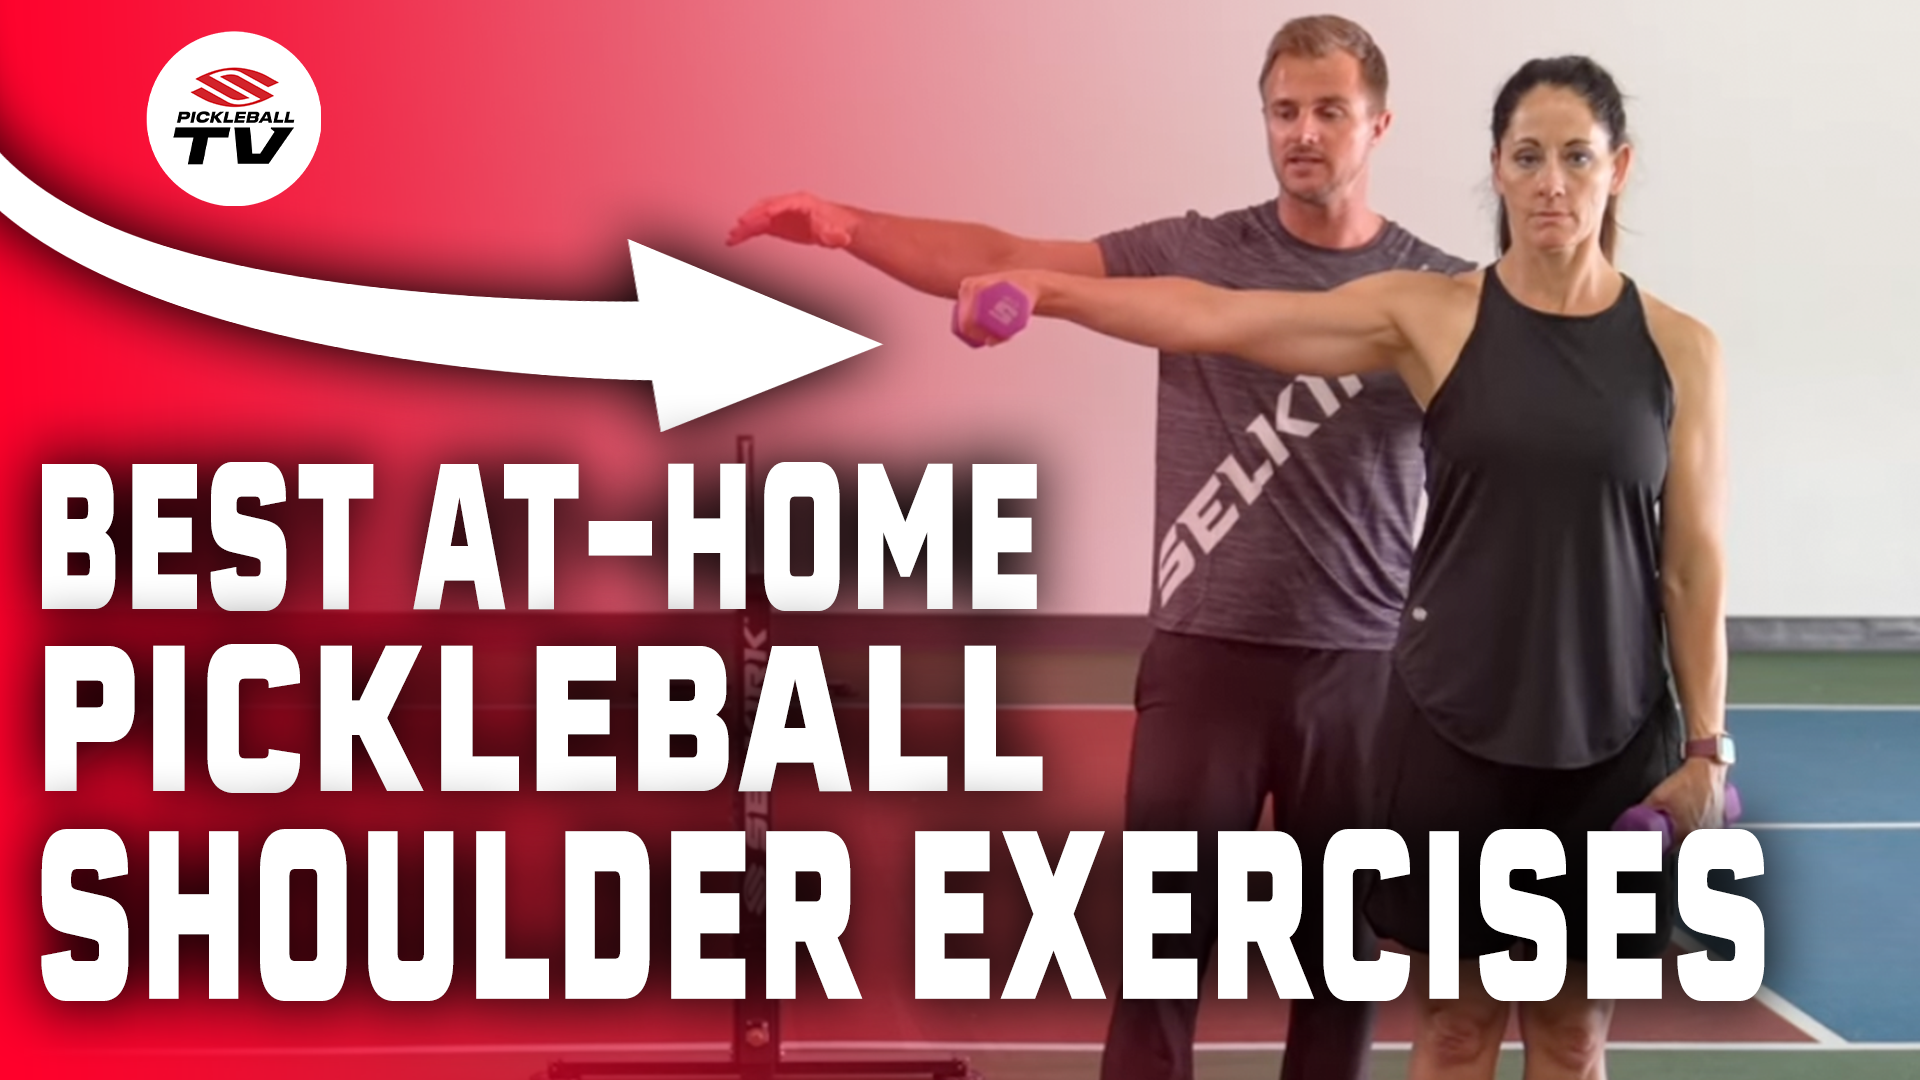
Now, in this new video installment, Dustin teaches viewers how to strengthen their shoulders for pickleball. Once you lengthen the muscles by stretching and alleviating tenderness, it’s important to strengthen them to improve performance and prevent injury.
Move 1: Supermans to improve your postural chain
Lay flat on your stomach with your arms extended in front of you. Slowly raise both arms and both legs off the ground as if you’re flying like Superman. Keeping your neck neutral, look straight forward at the ground.
Hold this position for about 10 seconds before slowly lowering back down. You should feel this exercise in your shoulder blades, the postural muscles in the center of your back, and your glutes.
Complete three repetitions of this exercise.
Move 2: Single arm shoulder raise
Grab a light set of weights, a water bottle, or your pickleball paddle for this move. Stand tall with your feet together and your arms extended straight down.
Slowly raise your right arm straight out to your side, stopping at shoulder height. Hold your arm at shoulder height, making sure to squeeze your shoulder, for five seconds. Holding at the top allows you to focus on your shoulder muscle, ensuring that it’s not pushed up toward your neck.
Once you’ve held for five seconds, slowly lower your arm back down. Now, complete five repetitions without holding at the top.
Now, raise your arm to shoulder height and hold for four seconds. Then, complete four repetitions without holding at the top.
Continue this pattern for three, then two, then one. Be mindful of where you are feeling the exercise — if you begin feeling the exercise in your neck rather than your shoulder, use lighter weights or no weights at all.
After you’ve completed the full set on your right arm, repeat it on the left side. Even though you’ll make the majority of your pickleball shots with your dominant hand, you still have to train both shoulders to maintain a balanced body.
Move 3: Shoulder circles with a mini-band
Grab a mini-band and place it over each of your wrists. Put your knees on the ground and then place your palms flat on the floor in front of you, ensuring the band is stretched between both wrists.
Keep your left palm pressed into the floor and raise your right palm a few inches off the ground. Now, moving from the shoulder, begin to create a small circle with your right hand. This motion will tax the small muscles in your shoulder.
As you complete these motions, make sure your core is strong and your back is flat. Complete about 10 clockwise circles and 10 counterclockwise circles with your right arm before switching to your left arm.
Move 4: Arm with a resistance band
Grab a large resistance band and anchor it in a doorway or an exercise machine. (Or if your partner is nearby, have them hold it for you!)
To start, stand with your feet hip-width apart. With the hand that is furthest from the resistance band, bring the band across your body and hold it at waist level. Externally rotate your hand so that your elbow is tucked to your waist with your wrist out to the side.
While keeping your arm externally rotated, raise your wrist above your shoulder. Make sure to stop the motion before you feel a pinch in your shoulder. Lower your arm back to waist level and internally rotate your hand back to the starting position.
This motion will help strengthen the muscles you need to execute backhand shots. Repeat this motion 10 times with each arm. If you find the motion too easy, stretch the band further from its anchor. If it’s too hard, move closer to the anchor
Download the Selkirk TV app HERE to watch the complete episode and many other Selkirk TV original shows, podcasts, lesson series from the pros, and much more.


